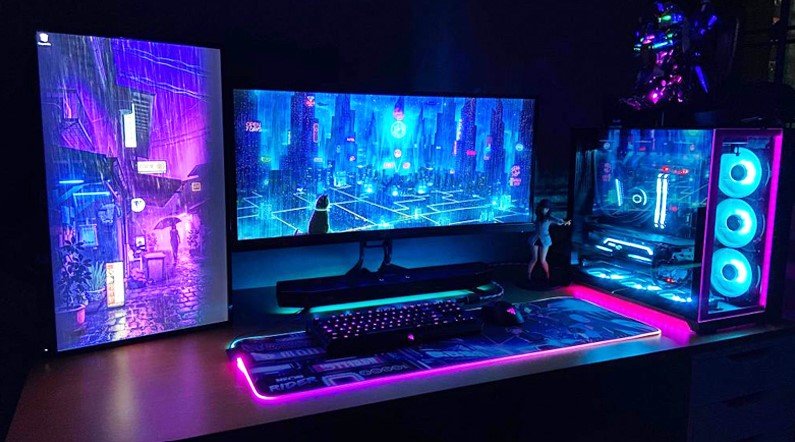
Building your own gaming PC can be an exciting and rewarding experience. It allows you to customise every aspect of your rig, tailoring it to your specific needs and budget. While it may seem daunting at first, with a little guidance and research, you can build a powerful gaming machine that will rival pre-built options.
Set a Budget and Research Components
The first step is determining your budget. Gaming PCs can range from affordable to extravagant, depending on your performance goals and desired features. Once you have a budget in mind, research the essential components:
- Central Processing Unit (CPU): The brain of your PC, responsible for executing instructions.
- Graphics Processing Unit (GPU): Handles the visual output of your games.
- Motherboard: Connects all your components and provides essential features.
- Random Access Memory (RAM): Temporary storage for running programs and games.
- Storage: Includes solid-state drives (SSD) for fast boot times and loading, and hard disk drives (HDD) for larger storage capacity.
- Power Supply Unit (PSU): Delivers power to all your components.
- Case: Houses and protects your components.
- Cooling: Ensures your components stay cool under load.
Research different brands and models within your budget, comparing specifications and performance benchmarks. Numerous online resources and forums can help you make informed decisions.
Compatibility and Planning
Ensure all your chosen components are compatible with each other. Check the motherboard’s socket type for CPU compatibility, the RAM speed and type it supports, and the PSU’s wattage for sufficient power delivery.
Plan your build carefully. Refer to online tech guides and videos to understand the assembly process. Gather the necessary tools, such as screwdrivers, cable ties, and thermal paste.
Putting It Together
Start by installing the CPU and RAM onto the motherboard. Then, mount the motherboard into the case, followed by the storage drives, GPU, and PSU. Connect all the necessary cables, ensuring proper routing for airflow and aesthetics. Apply thermal paste to the CPU before attaching the cooler.
Installing The Right Software
Once the hardware is assembled, install the operating system (Windows is typically preferred for gaming). Download and install the latest drivers for your components. Consider installing additional software for monitoring temperatures, overclocking (if desired), and optimising game settings.
Testing Out Your New System
Power on your PC and enter the BIOS settings. Ensure all components are recognized and configure boot settings. Install a few games and run benchmarks to test performance and stability. Watch videos on YouTube or play some of the real online pokies NZ players love in your web browser. If you encounter any issues, consult online forums or seek help from experienced builders.
Enjoy Your New Gaming PC!
With your custom-built gaming PC up and running, you can now enjoy the latest games with optimal performance and visual fidelity. Building a PC is an ongoing journey, so don’t hesitate to upgrade components as new technology becomes available.
Building your own gaming PC is a rewarding experience that allows you to unleash your creativity and passion for gaming. With careful planning, research, and a bit of elbow grease, you can create a powerful machine that will elevate your gaming experience to new heights.
